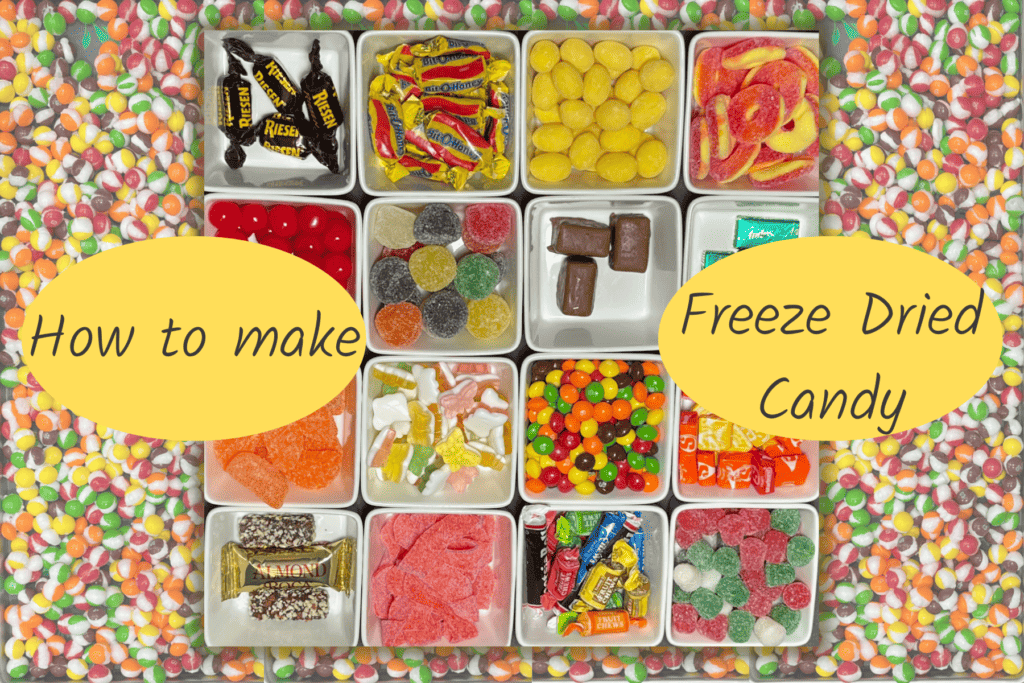
Unlock The Magic: Your Ultimate Guide To Making Freeze-Dried Candy At Home
Imagine your favorite chewy gummy or fluffy marshmallow transformed into an entirely new, remarkably crunchy, and intensely flavorful treat. That's the magic of freeze-dried candy! Creating freeze-dried candy is a fun way to store your delicious treats and enjoy a remarkable texture and flavor when you pop one in your mouth. While it might sound like something only big factories can do, we're here to tell you that freeze-drying is absolutely possible at home.
In this article, we will take you through the step-by-step process of making your own freeze-dried candy, from understanding the science behind freeze-drying to storing and enjoying your unique creations. Get ready to watch as the candy’s size, shape, and texture are transformed into a crunchy and airy delight with an intensified flavor!
What Exactly is Freeze-Dried Candy?
Freeze-drying, also known as lyophilization, is a process that removes moisture from food while it's in a frozen state. This is done by placing the frozen food in a vacuum chamber, which then causes the ice to sublimate – meaning it turns directly from ice into vapor without passing through a liquid phase. The result? A food product that retains its original shape, but becomes incredibly light, airy, and crispy, with a concentrated flavor.
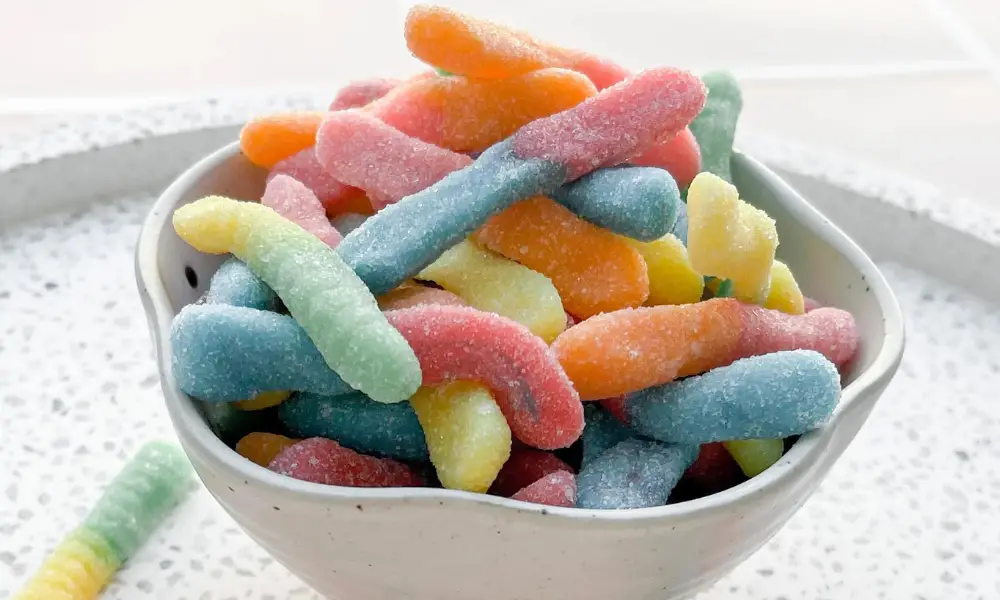
For candy, this transformation is truly remarkable. A chewy gummy bear becomes a delicate, airy crunch that dissolves delightfully on your tongue, with its fruity flavor bursting forth even more intensely. Miniature marshmallows puff up into giant, crispy clouds, and fruit snacks become brittle, flavorful chips. It's an interesting way to turn beloved sugary confections into a crisp, enduring nibble, offering a completely new sensory experience.
Why Make Freeze-Dried Candy at Home?
Beyond the sheer novelty, there are several compelling reasons to try your hand at making freeze-dried candy in your own kitchen:
- Unique Texture & Flavor: As mentioned, the texture transformation is incredible, and the flavor becomes more concentrated and vibrant.
- Extended Shelf Life: Removing moisture is a fantastic way to preserve food, significantly extending the shelf life of your favorite candies without the need for refrigeration.
- Fun & Educational: It's a fascinating process to observe, especially if you have kids. It’s a great way to introduce them to basic scientific principles.
- Cost-Effective (Eventually): While the initial investment in a home freeze dryer can be significant, if you plan to freeze-dry a lot of food (not just candy), it can save money in the long run compared to buying commercially freeze-dried products.
- Customization: You have complete control over what candies you freeze-dry, and you can even experiment with optional flavorings and coatings before or after the process.
While with a home freeze-dryer you might not be able to manufacture on an industrial scale, these machines are increasingly popular among home enthusiasts and small businesses. Freeze-drying is a simple process to replicate at home; all you require is the right candy, the means to freeze food, and a bit of patience.
- Permanent Loc Extensions Atlanta Ga
- Sam Cortez
- Daebak Tteokbokki
- Chicken Club Salad Jasons Deli
- Chocolate Covered Strawberries San Francisco
Essential Supplies for Your Freeze-Drying Adventure
To make freeze-dried candy at home, you need a few key ingredients and pieces of equipment. Your specific needs will vary slightly depending on whether you opt for a dedicated home freeze dryer or one of the DIY methods.
The Star Ingredients: Your Candy Choices
The best candies for freeze-drying are typically those with a high sugar content and a somewhat chewy or gummy texture. Here are some popular and successful choices:
- Gummy Candies: Gummy bears, worms, rings, etc. These puff up wonderfully and become incredibly crunchy.
- Miniature Marshmallows: These are perhaps the most dramatic transformation, turning into large, airy, melt-in-your-mouth puffs.
- Fruit Snacks: Similar to gummies, they become crispy and intensely flavored.
- Taffy & Caramels: These can become brittle and shatteringly crisp.
- Sour Candies: The sour powder adheres well, and the candy's texture transforms beautifully.
You can also experiment with other chewy candies, but avoid anything with a chocolate coating or a very high fat content, as these don't freeze-dry well.
The Right Equipment: Machine vs. No Machine
With a Home Freeze Dryer (The Professional Home Setup)
For perfect freeze-dried candy, a dedicated home freeze dryer is the ideal tool. These machines are designed specifically for this process, offering precise temperature and vacuum control. You'll also require a home freeze dryer, along with its trays and vacuum pump. While the initial investment is significant, these machines are increasingly popular for their efficiency and consistent results. They streamline the process, making it much easier to achieve high-quality freeze-dried treats.
Without a Machine (DIY Methods)
Yes, freeze-drying is absolutely possible at home without a dedicated machine, though it requires more patience and the results might not be as consistent or as shelf-stable as with a machine. To freeze dry candy at home without a machine, you will need a few key supplies:
- A Freezer: The colder, the better. A deep freezer works best.
- A Vacuum Sealer: Essential for creating a low-pressure environment.
- Baking Sheets: Lined with parchment paper or silicone mats.
- Airtight Containers/Mylar Bags: For storage.
- Optional: Dry Ice: For an alternative DIY method.
- A Small Cooler: If using the dry ice method.
Step-by-Step Guide to Making Freeze-Dried Candy
Here are the detailed steps for making freeze-dried candy using different methods.
Method 1: Using a Home Freeze Dryer (The Easiest Way)
This is the most reliable and efficient method for consistent results.
- Prepare Your Candy: Arrange your chosen candies in a single layer on the freeze dryer trays. Do not overcrowd them, as they will expand.
- Pre-Freeze (Optional but Recommended): For best results, you can pre-freeze your candies in a regular freezer for several hours or overnight before placing them in the freeze dryer. This helps speed up the process.
- Load the Freeze Dryer: Place the trays into your home freeze dryer.
- Start the Cycle: Close the door and start the freeze-drying cycle according to your machine's instructions. The machine will first freeze the candy to extremely low temperatures, then create a vacuum, and finally apply gentle heat to sublimate the ice.
- Monitor and Wait: The process can take anywhere from 8 to 24 hours or even longer, depending on the candy type and the machine. Your machine will typically indicate when the cycle is complete.
- Check for Dryness: Once the cycle finishes, check a piece of candy. It should be light, airy, and completely dry with no chewiness remaining. If it's still soft or chewy, put it back for more time.
- Store Immediately: Freeze-dried candy is highly hygroscopic (absorbs moisture from the air). As soon as it's done, transfer it to airtight containers or Mylar bags with oxygen absorbers to maintain its crispness.
Method 2: The Freezer & Vacuum Sealer Method (DIY)
This method attempts to replicate the freeze-drying process using common household appliances.
- Prepare Your Candy: Start by placing your candy on a lined baking sheet with parchment paper or a silicone mat. Ensure they are in a single layer and not touching.
- Deep Freeze: Place the baking sheet with candy into your freezer. The colder your freezer, the better. Let them freeze solid for at least 24-48 hours. The goal is to get them as cold and frozen as possible.
- Vacuum Seal: Once thoroughly frozen, quickly transfer the candies into vacuum sealer bags. Arrange them in a single layer if possible. Vacuum seal the bags, removing as much air as possible. The vacuum helps in the sublimation process, even if it's not as strong as a dedicated freeze dryer.
- Return to Freezer: Place the vacuum-sealed bags back into the coldest part of your freezer. This is where the slow sublimation process will occur. The ice will slowly turn into vapor and be drawn out by the vacuum.
- Patience is Key: This method takes a significant amount of time – often several weeks to a month or more, depending on the candy and your freezer's efficiency.
- Check for Dryness: Periodically, check a bag. The candy should be completely dry, light, and crispy. If there's any moisture or chewiness, reseal and return to the freezer.
- Store: Once fully freeze-dried, keep them in airtight containers or vacuum-sealed bags to prevent moisture absorption.
Method 3: The Dry Ice Method (An Alternative DIY)
This method utilizes the extremely cold temperature and sublimation properties of dry ice.
- Safety First: Always handle dry ice with extreme caution. Wear thick gloves and use tongs. Ensure you are in a well-ventilated area, as dry ice releases carbon dioxide gas.
- Prepare Your Setup: Put the candy in a small cooler. Place a layer of dry ice at the bottom of the cooler.
- Layer Candy: Place a layer of parchment paper or a wire rack over the dry ice. Then, arrange your candies in a single layer on top of the parchment paper/rack. You can add more layers of dry ice and candy, separated by parchment paper, but ensure the candy is not directly touching the dry ice.
- Cover with Dry Ice: Cover the candy completely with another layer of dry ice.
- Seal (Partially): Close the cooler lid, but do not seal it airtight. A small vent is necessary to allow the CO2 gas to escape safely, preventing pressure buildup.
- Wait: Freeze the cooler and wait 2 days for the candy to freeze dry. For some candies, it might take longer. The dry ice will sublimate, creating a very cold, low-moisture environment.
- Check and Store: After a couple of days, check a piece of candy. It should be light and crunchy. If not, add more dry ice and wait longer. Once done, store immediately in airtight containers.
Tips for Perfect Freeze-Dried Candy
- Choose Wisely: Not all candies freeze-dry equally well. Stick to gummies, marshmallows, and fruit snacks for best results, especially when starting out.
- Single Layer is Key: Always arrange candies in a single layer on trays or baking sheets. This ensures even freezing and drying.
- Patience, Patience, Patience: Especially with DIY methods, freeze-drying takes time. Don't rush the process.
- Monitor Your Candy: Keep an eye on the candies during the process, especially if using a machine, to ensure they are expanding and drying correctly.
- Proper Storage: This is crucial! Freeze-dried candy will quickly reabsorb moisture from the air and lose its crispness. Always store in truly airtight containers, vacuum-sealed bags, or Mylar bags with oxygen absorbers.
- Experiment: Once you get the hang of it, don't be afraid to try different types of candies or even add optional flavorings and coatings before or after the process.
Conclusion
Learning how to make freeze-dried candy at home offers an interesting way to turn beloved sugary confections into a crisp, enduring nibble. Whether you invest in a dedicated home freeze dryer or embark on a more patient DIY journey with your freezer and vacuum sealer, the reward is a unique, crunchy treat with an intensified flavor profile. This guide covers the process and best sources for freeze-dried sweets by showing you how to create them yourself. With the appropriate equipment and some patience, you can unlock a whole new world of candy enjoyment right in your own kitchen. So, gather your supplies, pick your favorite candies, and get ready to transform them into an extraordinary, airy delight!
How To Make Freeze Dried Candy : Great Gift Idea
How To Make Freeze Dry Candy at rhondachappel blog

How to Freeze Dry Candy: Easy Step-by-Step Guide — Homesteading Family
