Effortless Yard Cleanup: Your Guide To Building A DIY Pull-Behind Rake
Tired of spending endless hours raking leaves, leveling uneven patches, or clearing debris from your vast yard or wooded trails? The thought of investing in expensive commercial pull-behind attachments for your ATV or riding mower can be daunting. But what if there was a cost-effective, satisfying, and incredibly efficient alternative? Enter the DIY pull-behind rake.
A homemade pull-behind rake can transform your yard work from a tedious chore into a swift, satisfying task. Whether you're battling stubborn pine needles, grooming miles of wooded paths, or simply aiming for that perfectly manicured lawn, building your own rake is a game-changer. It's not as complicated as it sounds, and with a few basic supplies and some elbow grease, you can create a powerful tool tailored to your specific needs. This comprehensive guide will walk you through everything you need to know, from selecting materials to the step-by-step construction process, helping you achieve that pristine paradise you've always dreamed of.
Why Build Your Own Pull-Behind Rake?
The decision to build rather than buy often comes down to several compelling factors. When it comes to pull-behind rakes, the advantages of DIY are particularly clear:
- Cost-Effectiveness: As many experienced DIYers know, commercial drag-behind attachments can be cost-prohibitive. Building your own, especially if you have some scrap materials lying around, can save you a significant amount of money. You don't have to spend a fortune to get a highly functional tool.
- Customization and Versatility: A store-bought rake might not perfectly suit your unique yard or specific tasks. When you build it yourself, you can design it to the exact width, weight, and functionality you need. Want a rake that pivots 360 degrees? You can incorporate that. Need it extra wide for large areas? No problem. This level of customization is invaluable.
- Efficiency and Time-Saving: Imagine clearing an 800-foot driveway in minutes or tackling deep leaf piles that would take hours with a traditional hand rake. A pull-behind rake, whether pulled by an ATV, riding mower, or even a truck, drastically reduces the time and effort spent on yard maintenance. It truly transforms your yard work, allowing you to reclaim your weekends.
- Satisfaction of DIY: There's immense satisfaction in using a tool you've built with your own hands. It's not just a practical solution; it's a testament to your ingenuity and skill.
Types of Pull-Behind Rakes You Can Build
The term "pull-behind rake" encompasses a variety of designs, each suited for different tasks. Understanding these types will help you decide which project is right for you.
The Basic Yard & Leaf Rake
This is arguably the simplest pull-behind rake to construct and is perfect for general yard cleanup, especially clearing leaves and light debris. Making a pull-behind yard rake is a fairly simple process. It primarily involves adapting a standard metal rake for towing. You'll need a few basic supplies, including a tow hitch, a metal rake, and some nuts, bolts, and washers to secure the rake to a towable frame.
The Heavy-Duty Landscape & Trail Rake
For more demanding tasks, such as grooming wooded trails of twigs and leaves, or for larger properties where you'll be pulling it behind an ATV, a more robust design is necessary. This type often involves welding and more substantial materials. For instance, you might design and build a pull-behind landscape rake to use behind your ATV. These rakes can be quite versatile, with some designs allowing the rake to pivot 360 degrees and be locked into various positions, offering greater control over debris collection.
The Lawn Leveling Drag Rake
Transform your uneven lawn into a pristine paradise with a homemade lawn leveling rake! Building a DIY lawn leveling drag or pull-behind lawn leveling rake is actually quite a bit simpler than building a standard leveling rake. The catch is that unless you have a lawn that needs leveling, this might not be your primary project. This type of rake often uses a solid, flat bar or even scrap lumber to evenly distribute soil, sand, or compost across your lawn, creating a smooth, level surface. It's an essential tool for achieving that professional-looking turf.
The Driveway Smoothing Drag
If you have a gravel driveway, you know how quickly it can develop ruts and become uneven. A pull-behind drag can smooth up your driveway in minutes. Some designs utilize heavy I-beams and strategically offset tow lines to divert gravel and create a perfectly level surface. This is the best drag for maintaining a smooth driveway, pulling it behind a truck or ATV.
Essential Materials and Tools
The materials and tools you'll need will depend on the type of pull-behind rake you decide to build. Here's a breakdown:
For a Basic Yard & Leaf Rake (No Welding Required):
- Standard Metal Rake: The wider, the better for efficiency.
- Tow Hitch: A simple hitch attachment compatible with your riding mower or ATV.
- Metal Bar or Wood Beam: To serve as the frame that connects the rake to the hitch.
- Nuts, Bolts, and Washers: To securely attach the rake head to the frame and the frame to the hitch.
- Drill: With appropriate drill bits for metal or wood.
- Measuring Tape and Marker.
- Safety Gear: Gloves and eye protection.
For a Heavy-Duty Landscape, Trail, or Leveling Rake (Welding Likely Required):
- Steel Tubing: 1-inch diameter steel tubing is a common choice for frames due to its strength and manageability.
- Metal Rod: A 1-inch metal rod can be used for axles if you're building a pivoting rake, or for creating custom tines.
- Solid Steel Plate: A solid steel plate measuring at least 10 x 10 inches is a must-have for mounting points or as a base for a leveling drag.
- Welding Machine: Essential for joining steel components securely.
- Angle Grinder with a Metal-Cutting Disc: For precise cuts on steel tubing and rods, and for grinding down welds.
- Scrap Lumber: Can be used for a homemade tractor rake or as a leveling bar for a lawn leveling drag.
- Tow Hitch Assembly: More robust than for a basic rake, possibly custom-fabricated.
- Measuring Tape and Marker.
- Comprehensive Safety Gear: Welding helmet, gloves, safety glasses, ear protection.
Step-by-Step Guide: Building Your Pull-Behind Rake
While designs vary, the fundamental steps remain similar. This guide focuses on a more robust, versatile rake, but the principles can be adapted for simpler versions.
1. Planning and Design
Before cutting any metal, take the time to plan. Consider what you'll be pulling it with (ATV, riding mower, small tractor, truck) and the primary tasks it will perform. Sketch out your design, noting dimensions for the frame, the rake head, and the hitch arm. Think about features like width, tine spacing, and whether you want a pivoting mechanism.
2. Constructing the Frame
This is the backbone of your rake. Using your steel tubing, cut the pieces according to your design. You'll typically need pieces for a main crossbar (the width of your rake), side supports, and a central hitch arm.
- Cut Tubing: Use your angle grinder with a metal-cutting disc to cut the 1-inch diameter steel tubing to the desired lengths.
- Assemble and Weld: Lay out your cut pieces to form the main frame. Weld the joints securely. Ensure all angles are square for optimal performance. If incorporating a solid steel plate (e.g., 10x10 inches), weld it to the frame where you intend to mount the rake head or add weight for leveling.
3. Attaching the Rake Head
This is where your rake takes shape. The method depends on your chosen rake type:
- For a Standard Metal Rake: Position the head of your existing metal rake against the newly built frame. Mark and drill holes through both the rake head/handle and the frame. Securely attach using nuts, bolts, and washers.
- For Custom Tines (e.g., for a landscape rake): Cut sections of your 1-inch metal rod to create individual tines. Space them evenly along the main crossbar of your frame and weld each tine securely in place. Consider the angle of the tines for optimal raking.
- For a Leveling Drag: Attach your chosen leveling bar (steel plate, heavy lumber, or I-beam) to the frame. For an I-beam driveway drag, ensure it's positioned for maximum ground contact.
- Implementing a Pivot (Optional): If you want your rake to pivot 360 degrees, you'll need to create a central pivot point using a section of the 1-inch metal rod as an axle, allowing the rake head to rotate freely while attached to the frame. You'll also need a mechanism to lock it into desired positions.
4. Fabricating the Tow Hitch
The hitch arm connects your rake to your pulling vehicle.
- Cut and Weld Hitch Arm: Cut a length of steel tubing for the hitch arm. Weld one end securely to the center of your rake's frame.
- Attach Hitch Coupler: At the other end of the hitch arm, weld a standard hitch coupler that matches your vehicle's hitch ball, or create a simple loop for a pin-style hitch.
- Consider Offset Tow Lines: For driveway drags, some users find that offsetting the tow lines (attaching them at slightly different points on the drag) helps to divert gravel more effectively.
5. Finishing Touches
- Grind and Smooth: Use your angle grinder to smooth down any sharp edges or rough welds to prevent injuries and snags.
- Paint: Apply a coat of rust-inhibiting primer and paint. This not only protects your investment from the elements but also gives it a professional look.
- Test: Before putting it to heavy use, do a few test runs in your yard. Check all connections, ensure the rake performs as expected, and make any necessary adjustments.
Tips for Optimal Performance
- Adjusting for Effectiveness: For leveling drags or heavy rakes, the angle and weight distribution are crucial. Experiment with adjusting the length of your tow lines or adding weight to the rake's frame to achieve the best results.
- Regular Maintenance: Periodically check all nuts, bolts, and welds for tightness and integrity. Keep an eye out for rust and touch up paint as needed. Inspect tines for wear or bending.
- Safety First: Always wear appropriate safety gear when cutting, welding, or grinding. Be mindful of your surroundings when operating the pull-behind rake, especially in uneven terrain.
Conclusion
Building your own pull-behind rake is a rewarding DIY project that offers significant benefits. From saving money on expensive commercial attachments to gaining the satisfaction of creating a custom tool, the advantages are clear. Whether you opt for a simple bolt-on leaf rake or a heavy-duty welded landscape beast, the process is straightforward, and the results are transformative. You no longer have to dread yard cleanup; instead, you can efficiently clear leaves, level your lawn, or groom your trails with ease. So gather your materials, fire up your tools, and get ready to revolutionize your outdoor maintenance with your very own homemade pull-behind rake.
- Omaha Senior Photographers
- Campo De Fãºtbol El Molino
- Chantelle Luttenberger
- Hannah Rodgers
- Brooke Williams Basketball

Building a Dump Rake | Lawn mower maintenance, Tractors, Lawn tractor

Diy Wooden Lawn Leveling Rake - Diy Closet Island
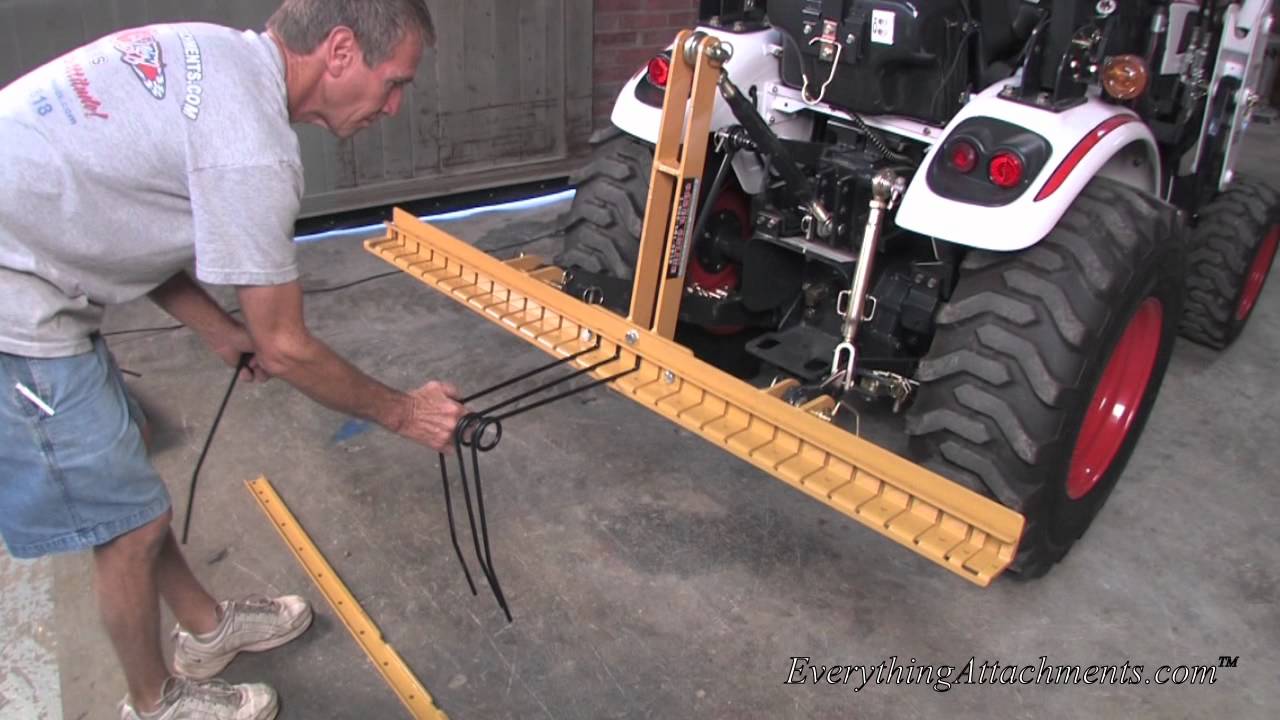
How To Assemble Your Everything Attachments Pine Needle Rake - YouTube
